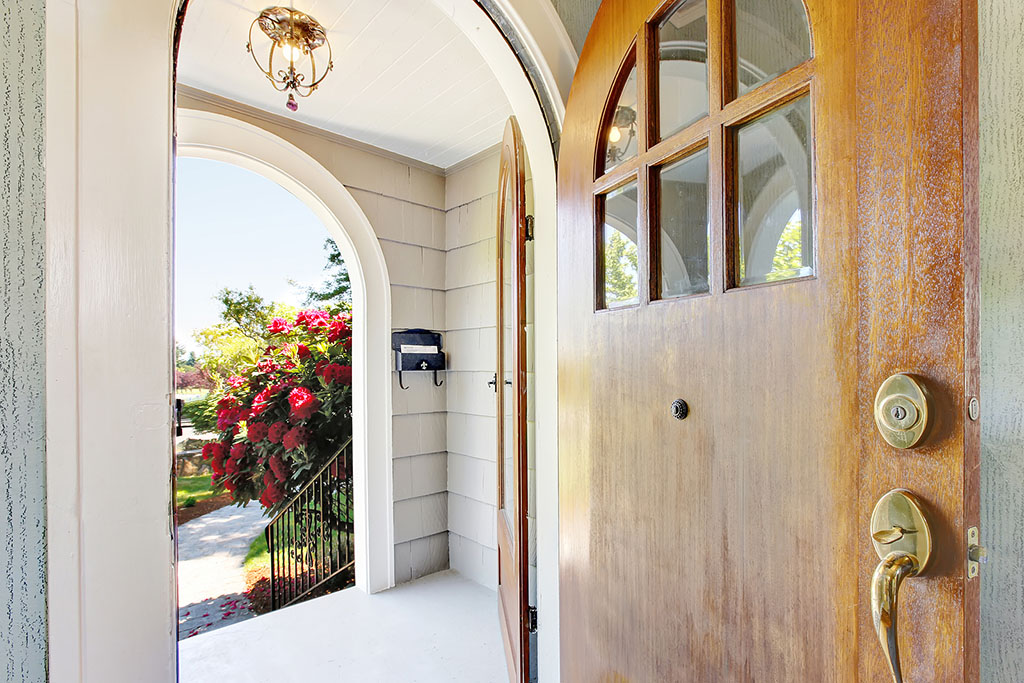
Exterior Door Installation: A Step-by-Step Guide for DIYers

Exterior door installation might seem daunting, but with the right tools and information, it is a project any DIYer can do. When you are choosing to install a new exterior door, there are many things you have to consider.
With an exterior door, you must make sure it is weatherproof to guarantee it is properly sealed against air and water infiltration. Plus, an exterior door needs to be well-insulated to maintain energy efficiency.
No matter which type of door you would like to tackle, Builder’s Discount Center has all the items you will need.
Benefits of Replacing an Exterior Door
A new exterior door can greatly improve your home’s curb appeal and increase your energy efficiency. You can choose between a prehung or slab door. Slab doors only include the door and not any part of the frame. They can be more budget-friendly, but installing a prehung door is much easier.
What You’ll Need for Exterior Door Installation
We recommend having a second person to help as exterior doors can be heavy and awkward. Below is a supplies list of items you will need:
- Prehung exterior door (make sure to measure your existing door frame to ensure you purchase the correct size)
- Hammer
- Screwdriver
- Level
- Tape Measure
- Shims (a thin tapered piece of material used to support and adjust for fit)
- Prybar
- Caulk and caulk gun
- Expanding foam insulation
- Drill and drill bits
Exterior Door Installation: Your Step-by-Step Guide
Remove The Old Door.
Take off the hinges and carefully lift the door out of the frame. Use a pry bar to remove any trim or molding around the door frame. Then inspect the opening for any damage or rot and repair as necessary before putting in your new door.
Steps for installing an exterior door:
- Dry fit the new pre-hung door in the opening to check for proper fit.
- Apply a bead of caulk along the threshold where it will contact the subfloor.
- Set the door unit into the opening, ensuring it is level.
- Use shims to adjust the door until it is perfectly square in the opening. Continuously check with a level.
- Once the door is level, secure it with screws through the jamb into the framing. Start with the hinge side.
- Test the door’s operation. It should open and close smoothly without sticking.
- Install screws in the strike plate side, continuing to check for level and smooth operation.
- Fill any gaps between the frame and the wall with low-expanding foam insulation.
- Install interior and exterior trim to cover the gap between the door frame and the wall.
- Caulk around the trim for a watertight seal.
- Finally, install the doorknob and any additional hardware.
For Everything You Need to Install an Exterior Door, Builders Discount Center Offers the Tools and the Expertise
Installing a new exterior door can seem challenging, but with the right tools and knowledge, it can be done by any DIYer. At Builder’s Discount Center, we have all the doors and supplies to make the job simple.
