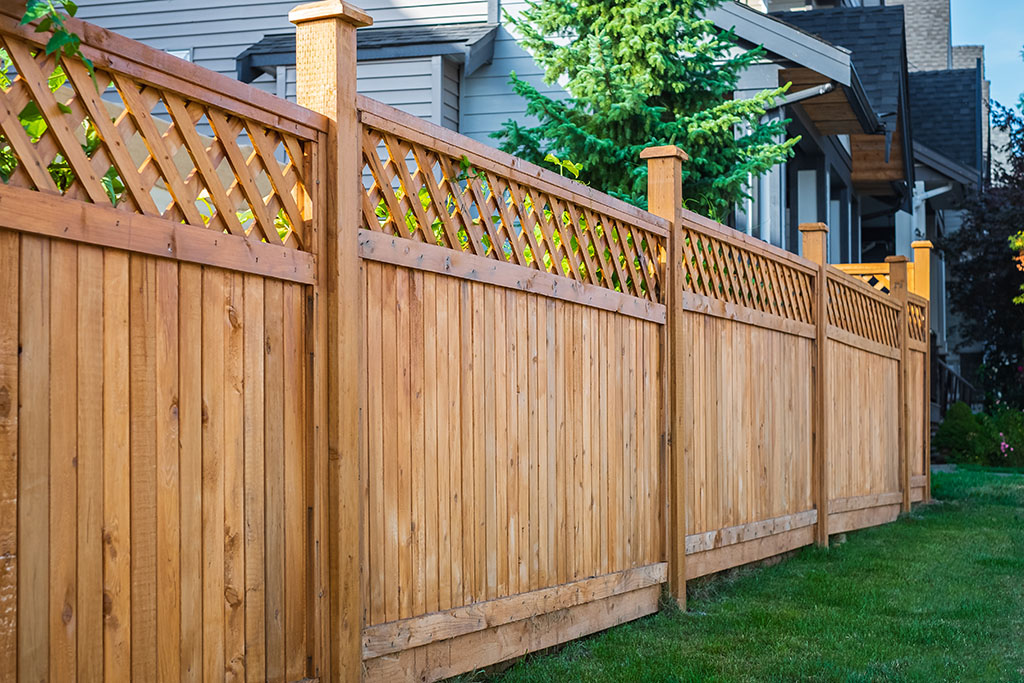
Thinking About a Privacy Fence or Need to Repair One? We Can Help!

Adding a privacy fence to your yard has many benefits. It creates a beautiful barrier between you and the outside world as well as increasing the security of your property. If you have pets or children, a privacy fence provides a safe and enclosed area for them. Plus, they add visual appeal to your home and help increase your property value.
At Builders Discount Center, wide variety of fencing options for DIY privacy fence installation as well as hardware and other materials.
How to Build a Privacy Fence? Start Here for DIY Privacy Fence Installation
Choose Your
- Wood Privacy Fence- Premade Fence Panel or Fence Pickets
- Vinyl Privacy Fence
- Aluminum Fence
Materials
- Pressure treated Lumber (for posts, rails, panels, pickets)
- Concrete mix
- Gravel
- Nails or screws
- Post hole digger
- Level
- Tape measure
- String
- Hammer
- Circular saw or hand saw
Easy Steps for Privacy Fence Installation
Step 1: Check on
Contact your local authorities or homeowners’ association to determine if any permits are needed or if there are specific requirements with fence height, setback, and property line restrictions.
Step 2: Plan and Design
Decide on location, height, and style. Use a surveyor’s map or property deed to ensure your fence is installed within your property lines. For a wood fence, choose a pre-made panel or individual pickets.
Step 3: Dig Fence Post Holes
Using a post hole digger, dig holes for the fence posts at regular intervals along the fence line. Make sure to include enough depth for gravel and concrete to ensure the fence is stable.
Step 4: Set Fence Posts
Place a layer of gravel in the bottom of each post for hole drainage, then insert the fence posts into the holes. Use a level to ensure the posts are plumb and straight, adjusting as needed. Once the posts are properly aligned, pour concrete mix around the base of each post and allow it to set according to the manufacturer’s instructions.
Step 5: Pre-made Fence Panels or Install Rails
Once the concrete has set, it’s time to either attach the premade fence panels or install the horizontal rails. If using the pre-made wood privacy panel, attach the panels directly to the post. If using rails, measure and cut pressure-treated lumber to fit between the fence posts. For either ensure the panel or the individual rails are level. Attach using nails or screws, making sure they are securely fastened.
Step 6: Add Finishing Touches
Once all the fence panels are installed, add post caps to the top of each fence post for a polished and professional finish. You can also stain or paint the fence to protect it from the elements and enhance its appearance, choosing a color that complements your outdoor decor.
If you already have a privacy fence, but it needs privacy fence repair, we can help with that too! Builder Discount Center has all the fencing supplies need.
Easy Steps for Privacy Fence Repair
- Assess the Damage by inspecting the fence and looking for broken or loose pickets, damaged posts, and leaning sections.
- Gather the tools you will need and any replacement items like pickets, panels, new posts, fasteners (screws and nails), hammer, saw, level, and screwdriver.
- Replace the damaged pieces by carefully removing them with a saw, pry bar, or hammer. Then install the new sections, making sure they are level and securely attached.
- Once all the repairs are complete, check the stability of the fence to ensure it is secure and level. Use a level to check for any unevenness and make adjustments as needed.
Whether you build a new fence or repair an old one, regularly inspect your fence for any damage or issues that may arise. Promptly addressing any maintenance needs, such as cleaning, sealing, staining, or tightening loose fasteners, will help maintain your fence for years to come.
Visit your local Builders Discount Center to find everything you need.
